So a friend of mine recently came back from a camping trip absolutely buzzing with excitement. She’d tried to capture the Milky Way on her DSLR for the first time, followed a YouTube tutorial to the letter — and ended up with a folder full of blurry, orange-tinted, grainy messes. Sound familiar? Yeah, I’ve been there too. Night sky photography looks magical in everyone else’s photos, but the gap between ‘pointed camera at sky’ and ‘actually got a usable shot’ is wider than most beginners expect.
Let’s walk through this together, because the honest truth is that astrophotography has a learning curve that most tutorials conveniently skip over. The gear matters, the location matters, and — this one surprises people — so does your phone’s weather app.
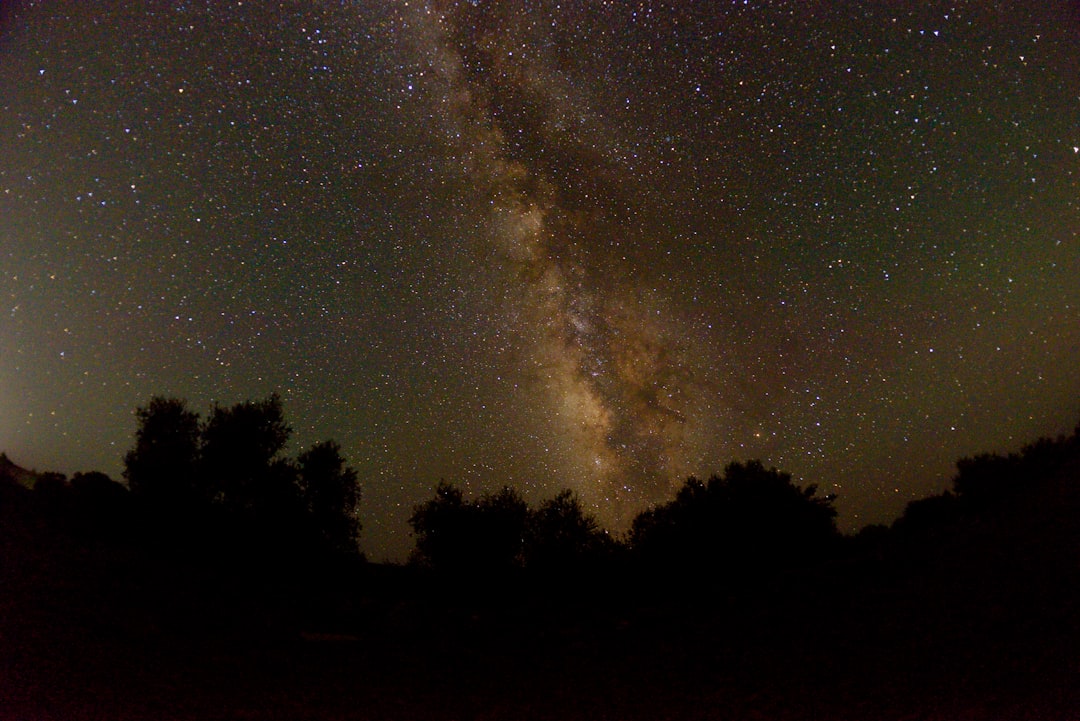
Why Most First Attempts Fail (And It’s Not Your Camera)
The number one culprit is light pollution. Over 80% of the world’s population lives under light-polluted skies, according to a 2016 study published in Science Advances — and that number has only grown since. If you’re shooting from a suburb, that amber glow you’re fighting isn’t just annoying; it will completely wash out faint nebulae and even dim your Milky Way core into near-invisibility.
The fix? Use lightpollutionmap.info or the Dark Sky Finder app before you drive anywhere. You’re aiming for a Bortle Class 4 or lower — that’s where the Milky Way starts casting actual shadows on clear nights. Class 1 (the darkest) exists in places like the Atacama Desert in Chile or the Outback in Australia, but even a Class 3–4 site a 90-minute drive from most mid-size cities can be genuinely stunning.
The Gear Reality Check for 2025
Here’s where I want to save you some money. You do NOT need a dedicated astronomy camera to start. What you actually need breaks down like this:
- Camera body: Any mirrorless or DSLR with manual mode works. The Sony A7 III, Nikon Z6 II, or even a Canon Rebel T8i will all perform. The key spec to check is full-frame vs. crop sensor — full-frame sensors gather more light, but a crop sensor with a fast lens can absolutely compete.
- Lens: Go wide and fast. A focal length between 14mm–24mm with an aperture of f/1.8 to f/2.8 is the sweet spot. The Rokinon/Samyang 14mm f/2.8 runs around $300 and is genuinely excellent for the price.
- Tripod: Non-negotiable. Carbon fiber is nice but not essential — just make sure it’s stable in wind. Budget around $60–$150 for something solid.
- Intervalometer or remote shutter release: Eliminates camera shake on the shutter press. Many modern cameras have this built into their mobile apps now.
- Star tracker (optional but game-changing): Devices like the Sky-Watcher Star Adventurer Mini (~$200) or the iOptron SkyGuider Pro (~$400) let you take exposures of 2–5 minutes instead of 20–30 seconds, which dramatically reduces noise.
The 500 Rule — And Why It’s Actually the 300 Rule Now
You’ve probably heard of the 500 Rule: divide 500 by your focal length to get the maximum shutter speed before stars start trailing. So at 24mm, that’s about 20 seconds. The problem? That rule was designed for lower-resolution sensors. On modern 24–45 megapixel bodies, stars will show trailing at those speeds when you zoom in at 100%.
The updated guidance most astrophotographers use in 2025 is the NPF Rule or, practically speaking, just dropping to the 300 Rule (divide 300 by focal length). On a crop sensor, multiply by the crop factor first. So: 300 ÷ (14mm × 1.5 crop) ≈ 14 seconds maximum. It’s tighter, but your stars will be pinpoints instead of tiny dashes.
Recommended starting settings for a single-shot Milky Way frame:
- ISO: 3200–6400 (test your camera’s noise floor — some modern sensors like the Sony A7S III are clean up to ISO 12800)
- Aperture: Wide open or one stop down (e.g., f/1.8 lens → shoot at f/2.0 to reduce coma distortion at the edges)
- Shutter: Apply your 300 Rule calculation
- Focus: Manual, set to infinity — then back off just slightly and use live view at 10x magnification on a bright star to nail it
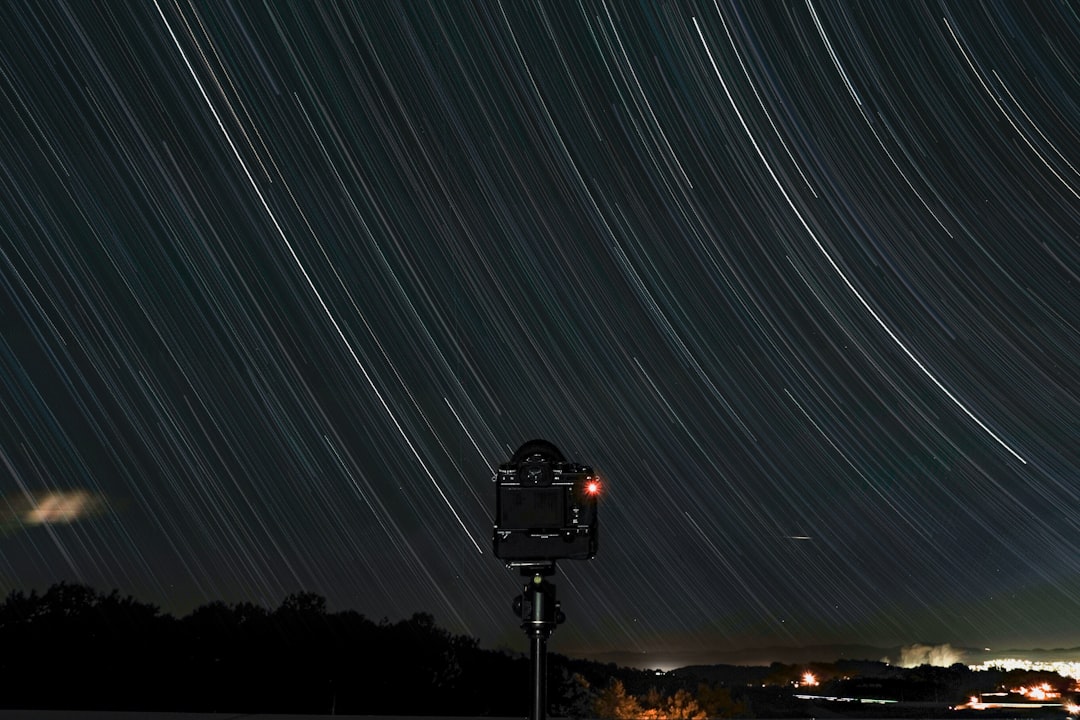
Stacking: The Secret Weapon Most Beginners Skip
Single-shot astrophotography has hard limits. The real upgrade isn’t buying a better camera — it’s learning image stacking. Shoot 20–30 frames of the same scene, then combine them in free software like Sequator (Windows, free) or Siril (cross-platform, free). Stacking averages out random noise across frames, effectively giving you the equivalent of shooting at a much lower ISO. Professional astrophotographers routinely stack 50–200 frames for deep-sky targets.
A 2023 comparison test published on AstroBackyard showed that stacking just 15 x 25-second frames at ISO 6400 produced results comparable to a single 6-minute tracked exposure — noise-wise. That’s a significant finding for anyone without a star tracker yet.
Real-World Location Strategy
Beyond the Bortle scale, timing is everything. The Milky Way core is only visible from roughly February through October in the Northern Hemisphere, peaking in June–August when the galactic center rises high in the sky. Pair your outing with a new moon — even a quarter moon is bright enough to wash out faint detail. The PhotoPills app ($10 one-time purchase) is worth every cent for planning exactly when and where the Milky Way will rise over a specific landscape.
Temperature matters too — cold air holds less moisture, so autumn and winter nights often offer the sharpest skies. But cold also drains camera batteries fast. Bring at least two fully charged spares and keep a spare in an inside pocket.
Practical Alternatives If Dark Skies Aren’t Accessible
If driving 2 hours to dark skies isn’t realistic for you right now, here are some genuinely productive paths forward:
- Urban astrophotography: Focus on the Moon and planets — these are bright enough to cut through light pollution entirely. A 200–300mm telephoto or a telescope adapter lets you capture stunning lunar detail from a city apartment balcony.
- Remote telescope services: Sites like Telescope.live or iTelescope.net let you book time on professional telescopes in Chile, Spain, or Australia and get the raw data delivered to you for processing. It’s surprisingly affordable — starting around $10–20 per session.
- Twilight photography: The 20–30 minutes after civil twilight can give you foreground lit by residual light and early stars/planets visible overhead — a different but beautiful style that doesn’t demand total darkness.
The honest takeaway from all of this? Astrophotography rewards patience and planning far more than expensive gear. My friend’s bad first session wasn’t a failure — it was, in retrospect, the most educational night she’d ever spent behind a camera. She went back two months later with a dark sky location planned, the right settings dialed in, and came home with a shot that’s now her phone wallpaper.
📝 Editor’s Note: If you’re just starting out in 2025, the single highest-impact thing you can do is drive to a Class 4 or darker site on a new moon night and simply practice — don’t overthink the gear. Once you’ve got a feel for what the sky actually looks like without light pollution, everything else clicks into place much faster. The sky isn’t going anywhere, and neither is your learning curve. Take it one clear night at a time.
📚 관련된 다른 글도 읽어 보세요
- 배터리 방전 전에 먼저 읽어라 — 2026년 기준 전기차 배터리 수명 완전 분석
- 전기차 10년 타고 깨달은 것 — 사기 전에 제발 이것만 확인하세요 [2026 기준]
- Why I Almost Gave Up on DIY Solar — Real 2025 Setup Guide for Beginners
태그: []
Leave a Reply